Are you ready to take your Unity development skills to the next level? If so, then learning Unity 2D is the perfect place to start. In this step-by-step tutorial, we will guide you through everything you need to know to get started with Unity 2D and create engaging 2D games and experiences.

Firstly, let’s define what Unity 2D is. Unity 2D is a powerful game engine that allows developers to create 2D games and experiences for various platforms, including desktop and mobile devices. With Unity 2D, you can use a wide range of tools and assets to create everything from simple arcade-style games to complex narrative experiences.
Now that we have an understanding of what Unity 2D is let’s dive into the tutorial step-by-step.
Step 1: Install Unity 2D
The first step in learning Unity 2D is to install the engine on your computer. You can download the latest version of Unity from the official website. Once you have downloaded and installed Unity, open it up and create a new project.
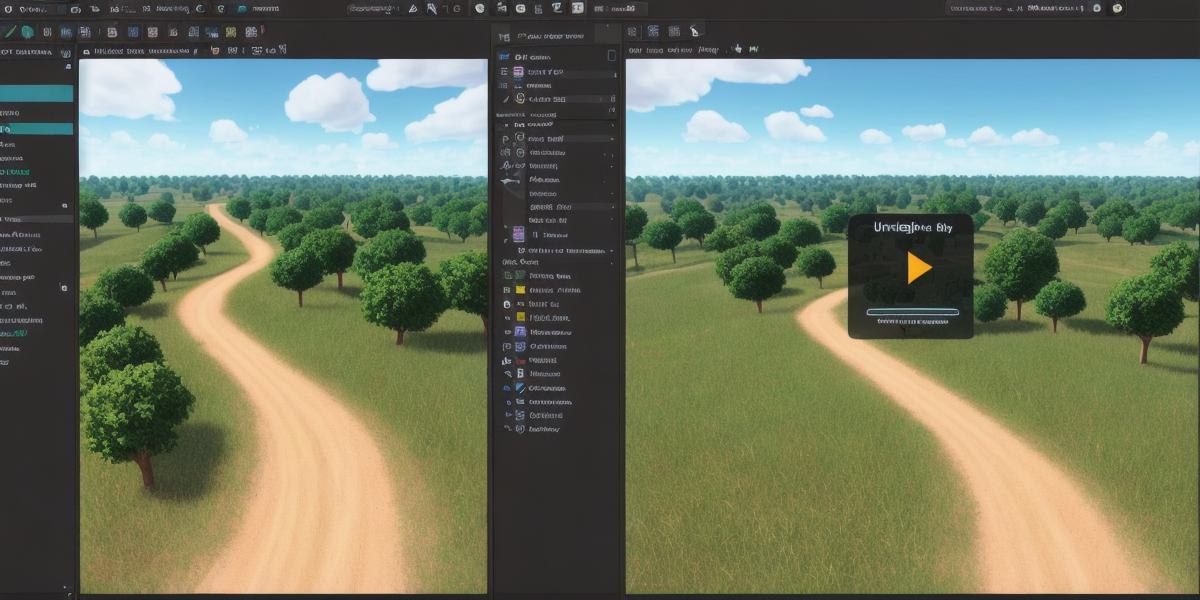
Step 2: Create Your First Scene
The next step is to create your first scene. In Unity, a scene is a 3D space where objects exist. To create a scene, go to the "Window" menu and select "Scene." From there, you can choose the type of scene you want to create. For beginners, we recommend starting with a 2D scene.
Once you have created your scene, you can start adding objects to it. Unity comes with a wide range of built-in assets, including sprites, particles, and animations. You can also import your own custom assets if you prefer.
Step 3: Add Game Objects
Now that you have created your scene and added some assets, it’s time to start adding game objects. Game objects are the building blocks of any game or experience. In Unity, a game object is anything that exists in a scene, such as a character, an enemy, or a particle effect.
To add a game object, go to the "GameObject" menu and select the type of game object you want to create. For example, if you want to create a character, you would select a "Sprite Renderer" and give it a sprite image.
Step 4: Create a Camera
The next step is to create a camera that will allow players to view your scene. To do this, go to the "GameObject" menu and select "Camera." From there, you can choose the type of camera you want to create, such as an orthographic or perspective camera.
Once you have created your camera, you can start moving it around the scene by selecting it and dragging it with your mouse. You can also adjust the camera’s properties, such as its field of view and aspect ratio, to suit your needs.
Step 5: Add Lighting and Effects
Lighting and effects are crucial elements that can make or break a game or experience. In Unity, you can add lighting to your scene using various types of light sources, such as point lights, directional lights, and ambient lights. You can also add particle effects, such as explosions and smoke, to create dynamic and engaging experiences.
To add lighting and effects, go to the "Lighting" and "Effects" menus respectively, and select the type of lighting or effect you want to add. From there, you can customize the properties of the lighting or effect to suit your needs.
Step 6: Add Animation
Animation is another crucial element that can bring your game or experience to life. In Unity, you can add animation to your game objects using various types of animations, such as 2D sprite animations and particle effects animations.
To add animation, go to the "Animator" menu and select the type of animation you want to add. From there, you can create an animation clip and add keyframes that define the movement and behavior of your game object.